
Classify the defect before adjusting pressure
A deposit can vary in volume, position, shape or internal quality. Bubbles may create missing material or delayed flow; stringing leaves a tail between the part and tip; inconsistent shots can result from changing fluid head, trapped air, temperature drift, worn components or unstable timing.
Record the pattern across the syringe or container. A problem that grows near the end of the barrel suggests a different cause from one that appears after every production pause. Weighing deposits at regular intervals is often more informative than judging size by eye.
Remove air from filling and material preparation
Air can enter during mixing, transfer, thawing or syringe filling. Follow the material supplier’s storage and conditioning method, fill containers without folding air into the fluid and use an appropriate piston or follower where the system is designed for one. Do not assume a higher pressure will compress the problem away.
Allow enough time for material temperature to stabilize because cold or partially conditioned fluid can change viscosity through the run. Where degassing is permitted, define the vacuum and time around the actual chemistry so volatile content or premature reaction is not introduced.
- Material temperature and conditioning time
- Bubble-free transfer and filling method
- Correct piston, follower or reservoir setup
- Documented maximum hold time before use
Match the tip, pressure and motion to the fluid
A tip that is too small can demand excessive pressure and increase sensitivity to particles or viscosity change. A tip that is too large may reduce placement control. Select geometry and material compatibility through trials, then treat the tip as a controlled consumable with a replacement rule.
For stringing, review fluid rheology, shutoff behaviour, dispense height, end-of-path motion and any programmed suck-back. Excessive vacuum or suck-back can introduce other problems. Tune one variable at a time and verify deposit weight after each change.
Control transitions during real production
Validate the first shots after refill, the steady middle of the run, the last usable material and the restart after a normal pause. Include changes in room or material temperature that occur across the shift. A stable laboratory sequence is not enough if production includes frequent stops.
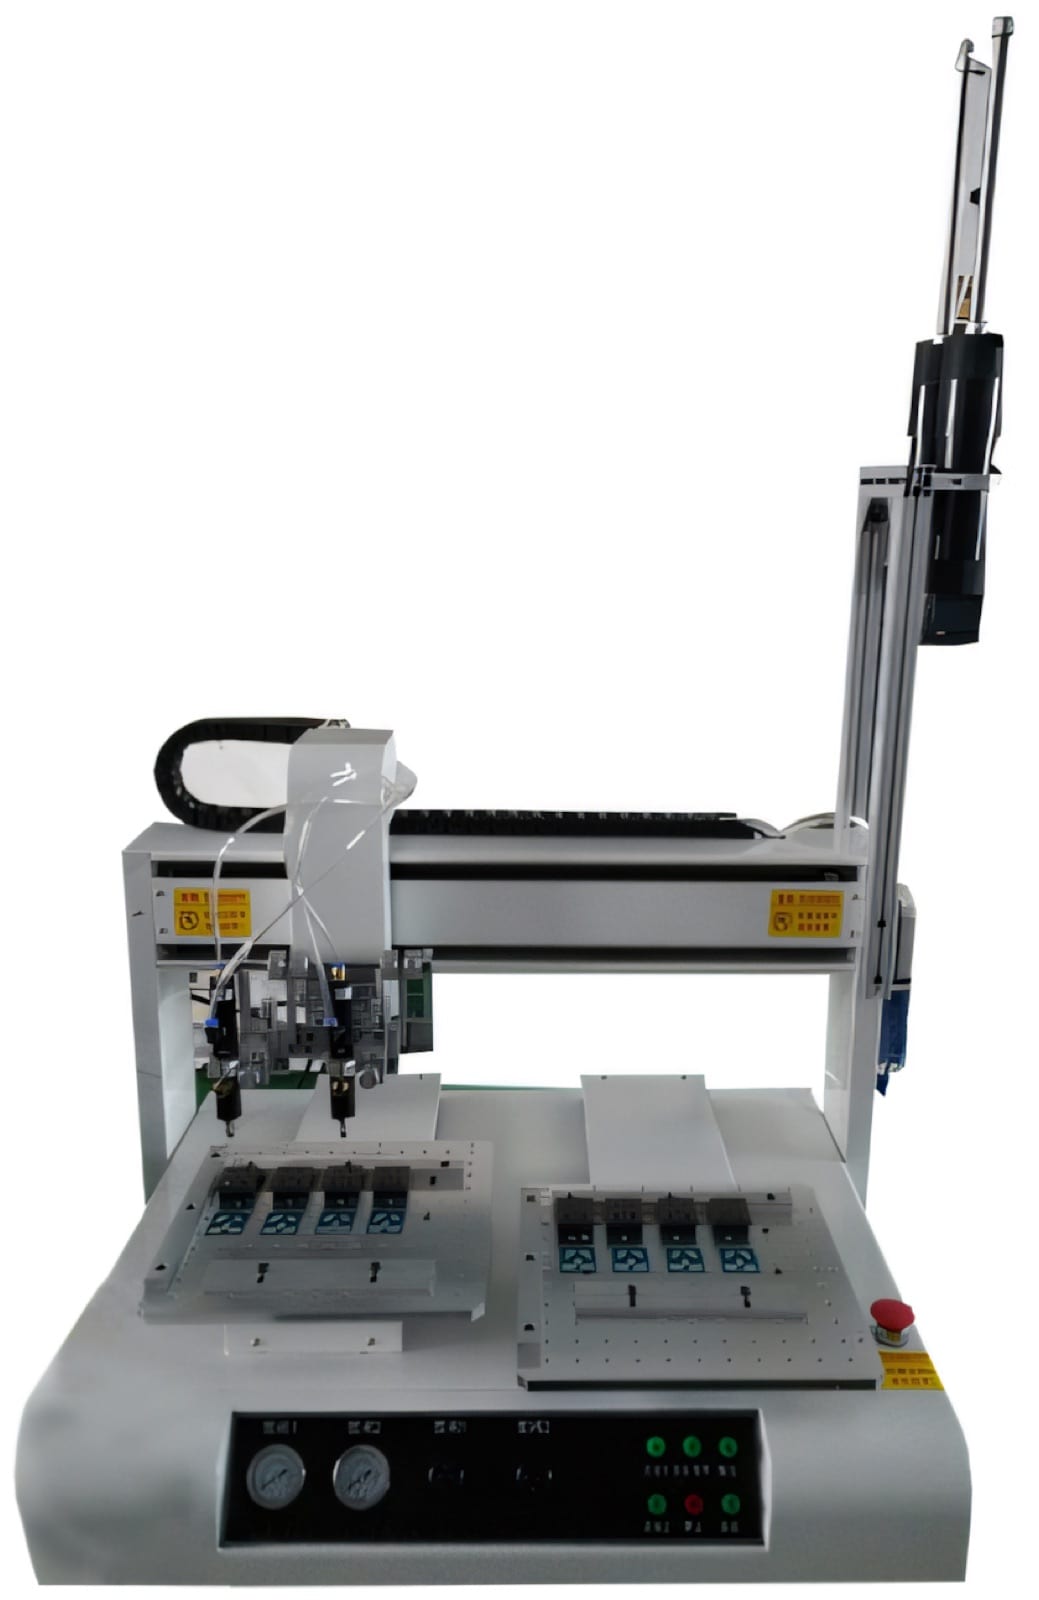
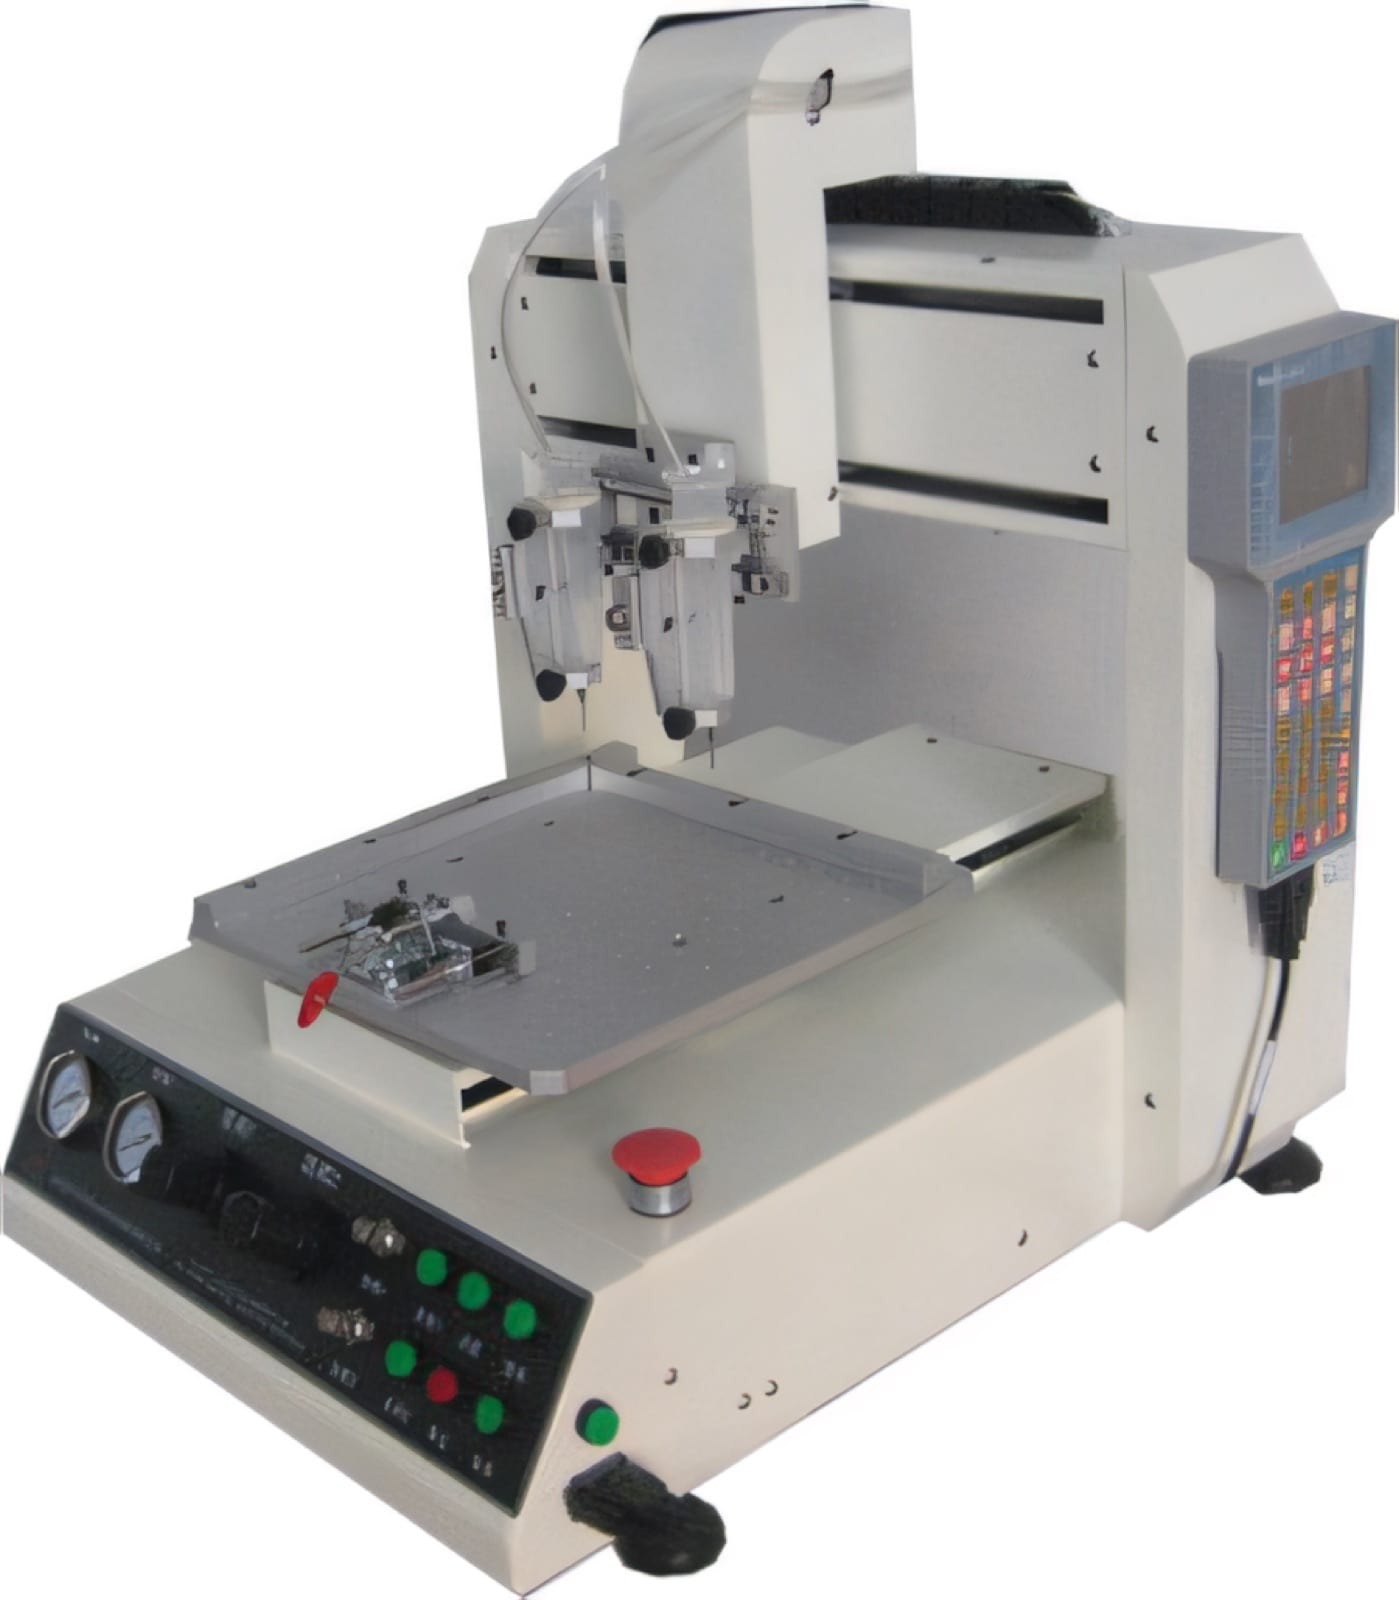
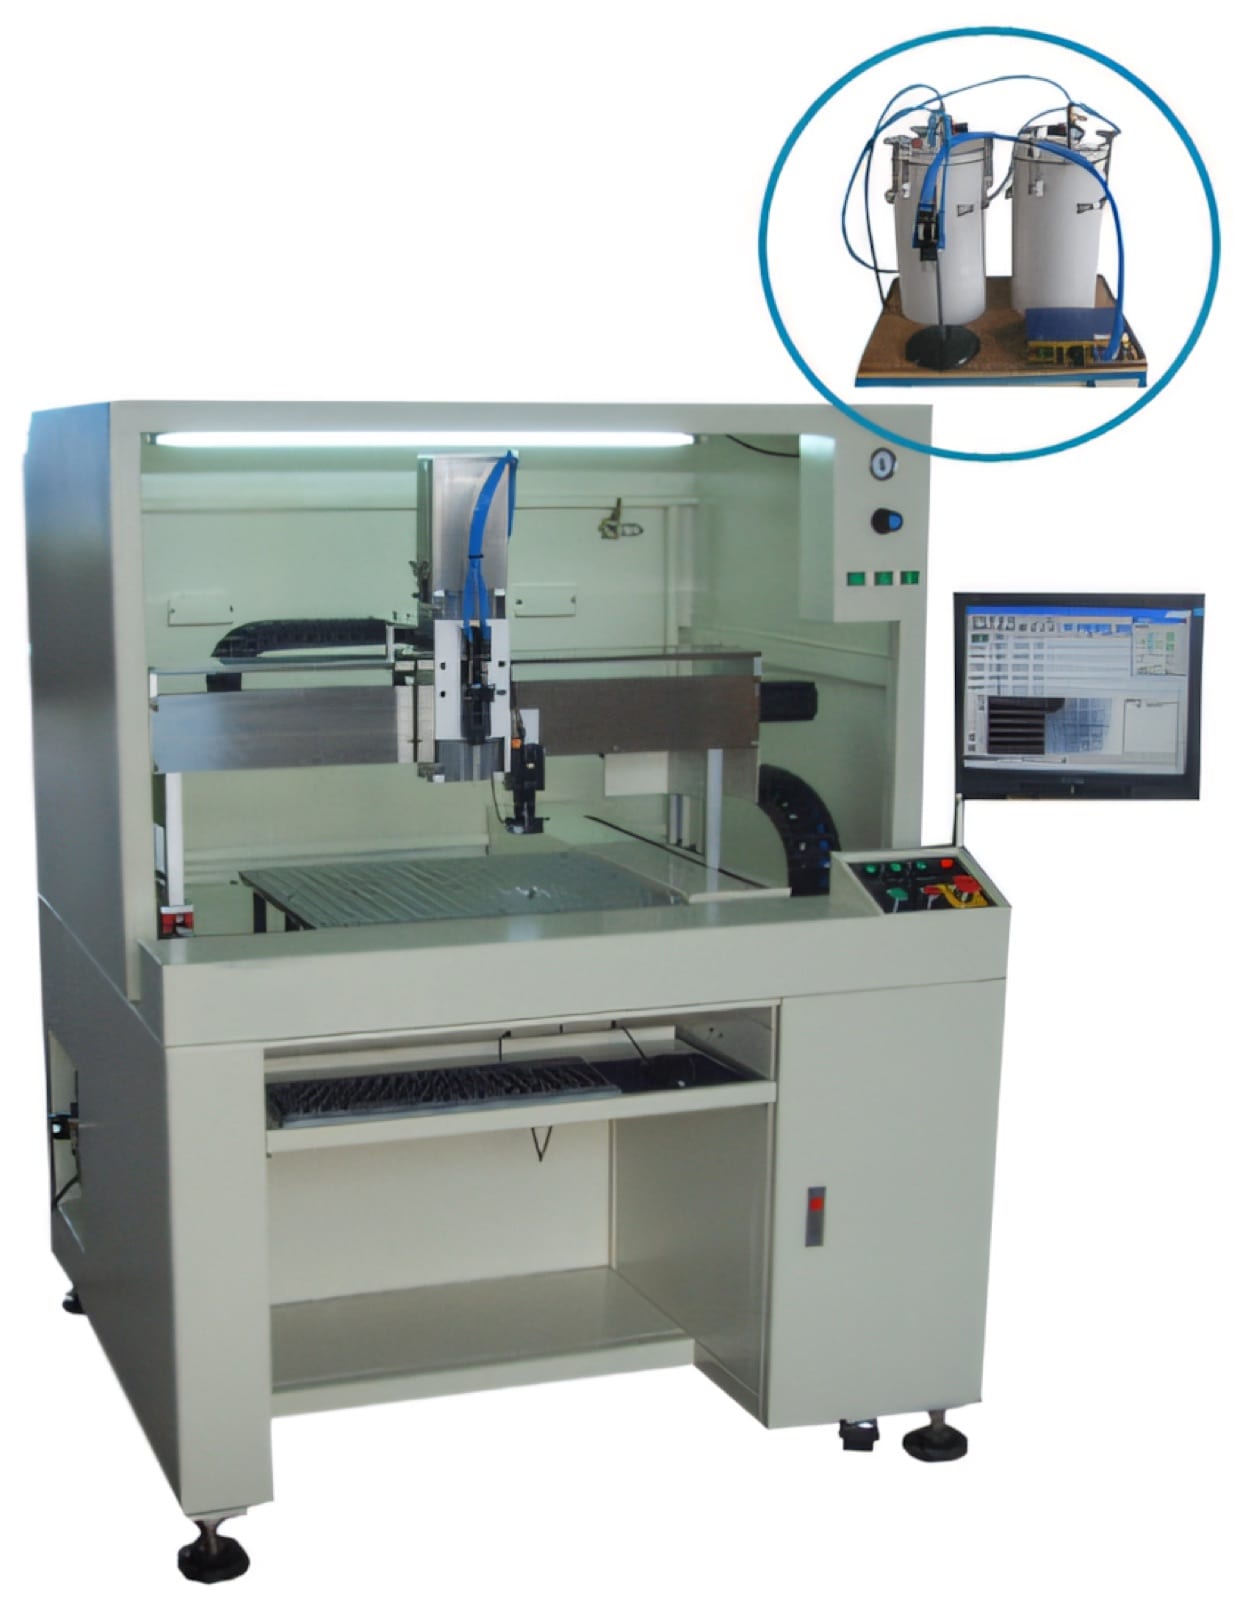
PME compact, dual-syringe, rotary-axis and two-component dispensing machines can be configured around the chosen material and path. A sample trial should define filling, pressure, motion, inspection and maintenance together so the solution remains repeatable beyond the first approved part.
Relevant machinery for this process
Explore PME equipment that can support the operations discussed in this guide. Final machine selection should be confirmed against your component, materials and target output.
Plan the next step
Discuss your component and production target with PME.
Share a drawing, sample, current process and expected output. We can help map the right machines and level of integration.