
Select flux for the materials and finished product
Flux removes surface oxides and supports solder wetting during the short thermal cycle. The correct choice depends on terminal finish, magnet-wire preparation, solder alloy, contamination level, process temperature and the cleanliness required after soldering. A flux that wets aggressively may create unacceptable residue or material compatibility problems elsewhere in the assembly.
Work with the approved flux and solder suppliers when establishing the process. Review technical and safety information, required preheat, recommended operating range, residue classification and cleaning guidance. Product qualification should confirm electrical, mechanical and environmental performance rather than relying on joint appearance alone.
- Terminal and conductor surface condition
- Solder alloy and operating temperature
- Residue and cleaning requirements
- Finished-product reliability expectations
Prepare the terminal before adding more flux
Flux cannot reliably compensate for heavy oxidation, oil, mould release, damaged plating or incomplete enamel removal. When wetting becomes unstable, inspect incoming parts and wire preparation before increasing flux concentration or immersion time. Excess flux may hide the real cause while producing more residue and contamination.
Define an incoming condition for terminals and stripped wire. Storage time, handling and supplier changes can influence solderability. A simple documented check on representative material helps separate a material problem from a machine or bath problem.
Control application amount and coverage
Automatic fluxing should cover the intended joint area consistently without flooding the component. Application depth, dwell, withdrawal and drainage influence the amount carried into the solder bath. The fixture angle and terminal geometry may cause one side to retain more liquid than another.
Keep the flux system covered where practical, follow supplier guidance for monitoring and replenishment, and prevent uncontrolled dilution or contamination. Record the material lot and process checks. If density or solids monitoring is required, use the method recommended for the specific chemistry rather than a generic limit copied from another flux.
- Controlled immersion depth and dwell
- Repeatable drainage before soldering
- Defined replenishment and change limits
- Clean tanks, lines and application fixtures
Balance flux, heat and solder contact
Flux activation must align with the heating sequence. Too little heat may leave the surface inactive when it reaches the solder, while excessive delay or temperature can exhaust the flux before wetting is complete. Solder-bath temperature, immersion depth, dwell and withdrawal must therefore be validated with the flux as one process window.
Inspect more than the top surface of the joint. Check wetting around the terminal, bridging risk, drainage, heat effect on the bobbin and residue in nearby areas. Electrical or mechanical validation should confirm that an attractive joint also meets the functional requirement.
Maintain the process instead of correcting it by feel
Create checks for flux condition, application level, bath temperature, solder contamination, fixture cleanliness and joint quality. When a defect appears, change one controlled factor at a time and retain samples. Operator additions made without measurement can move the process outside its qualified condition.
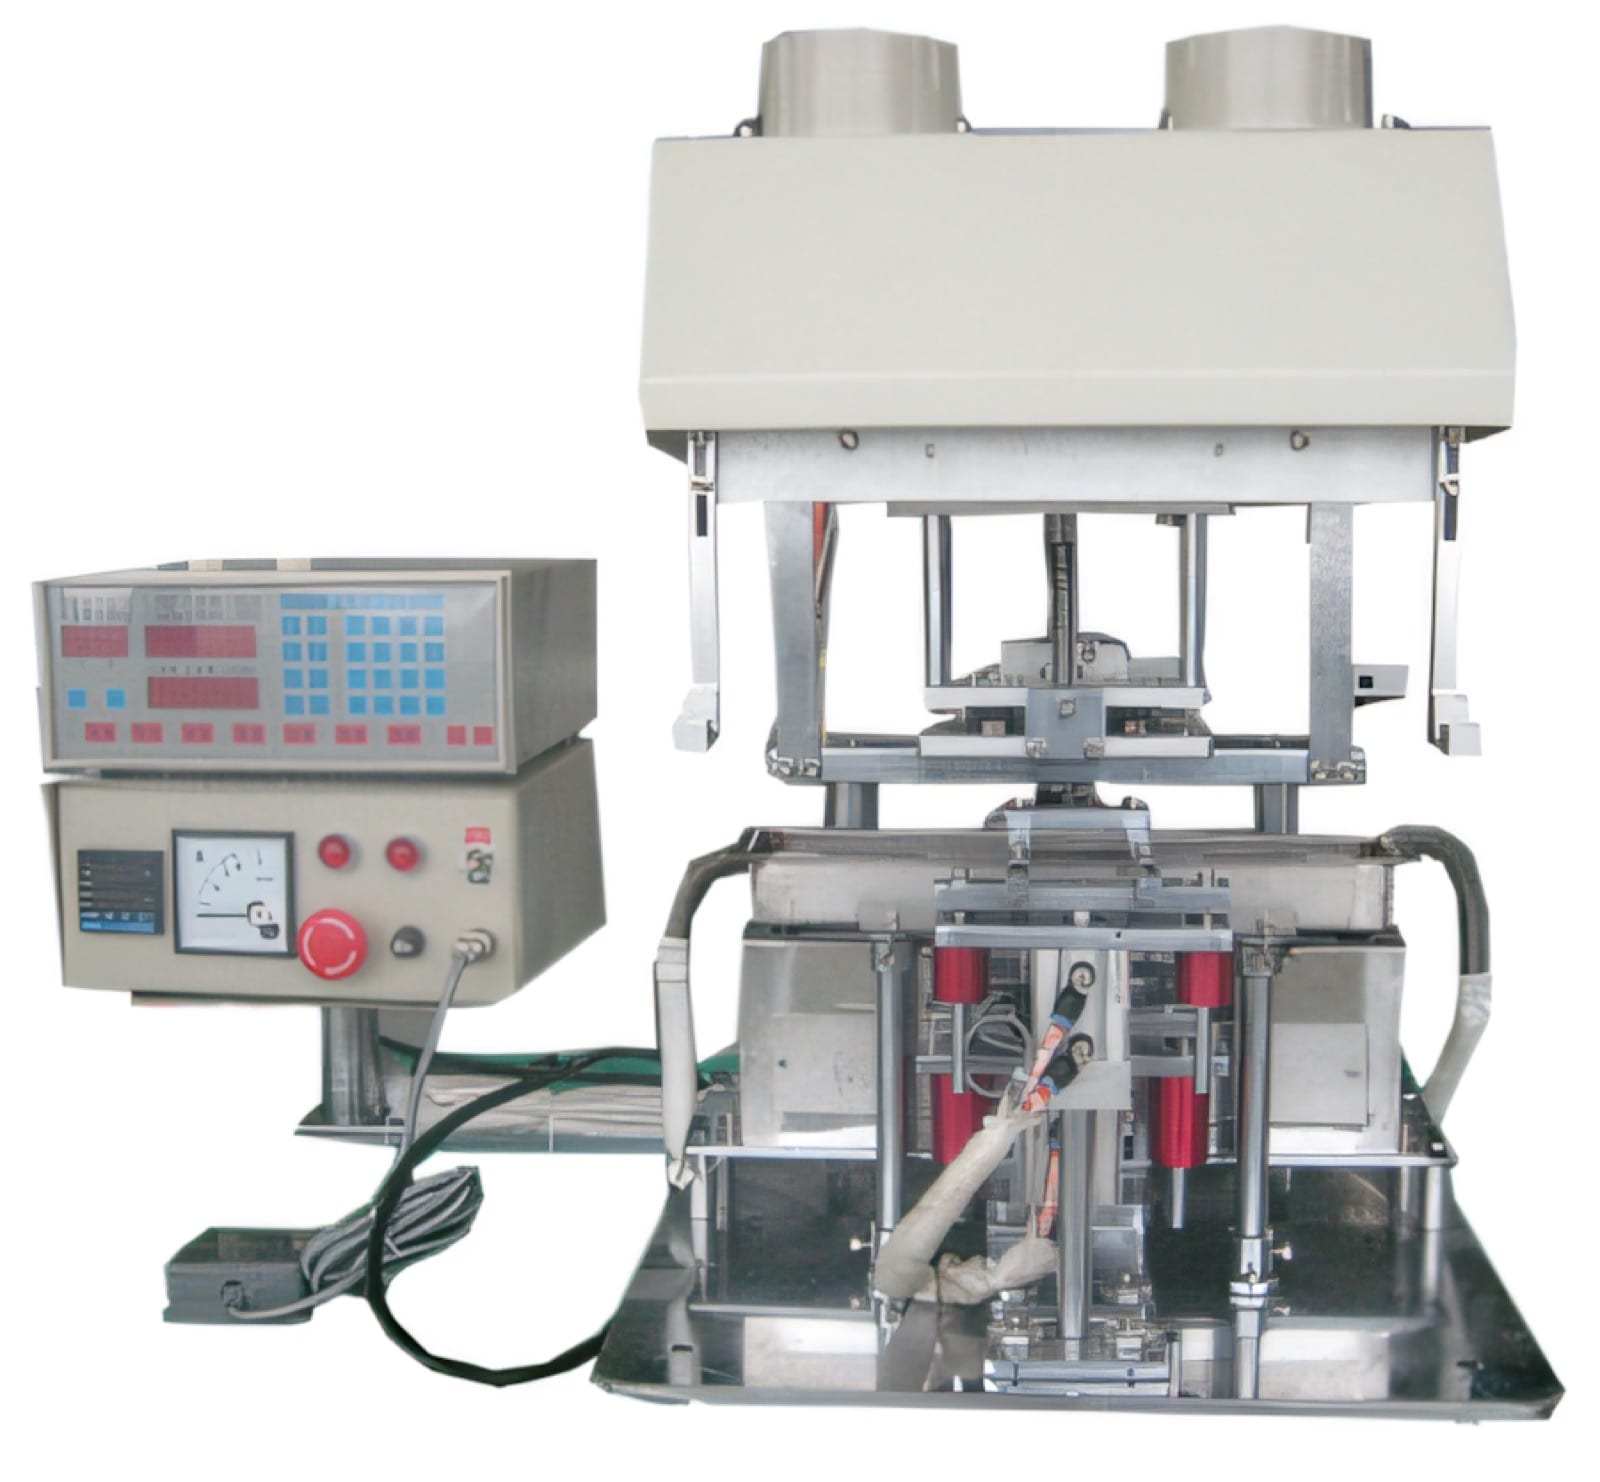
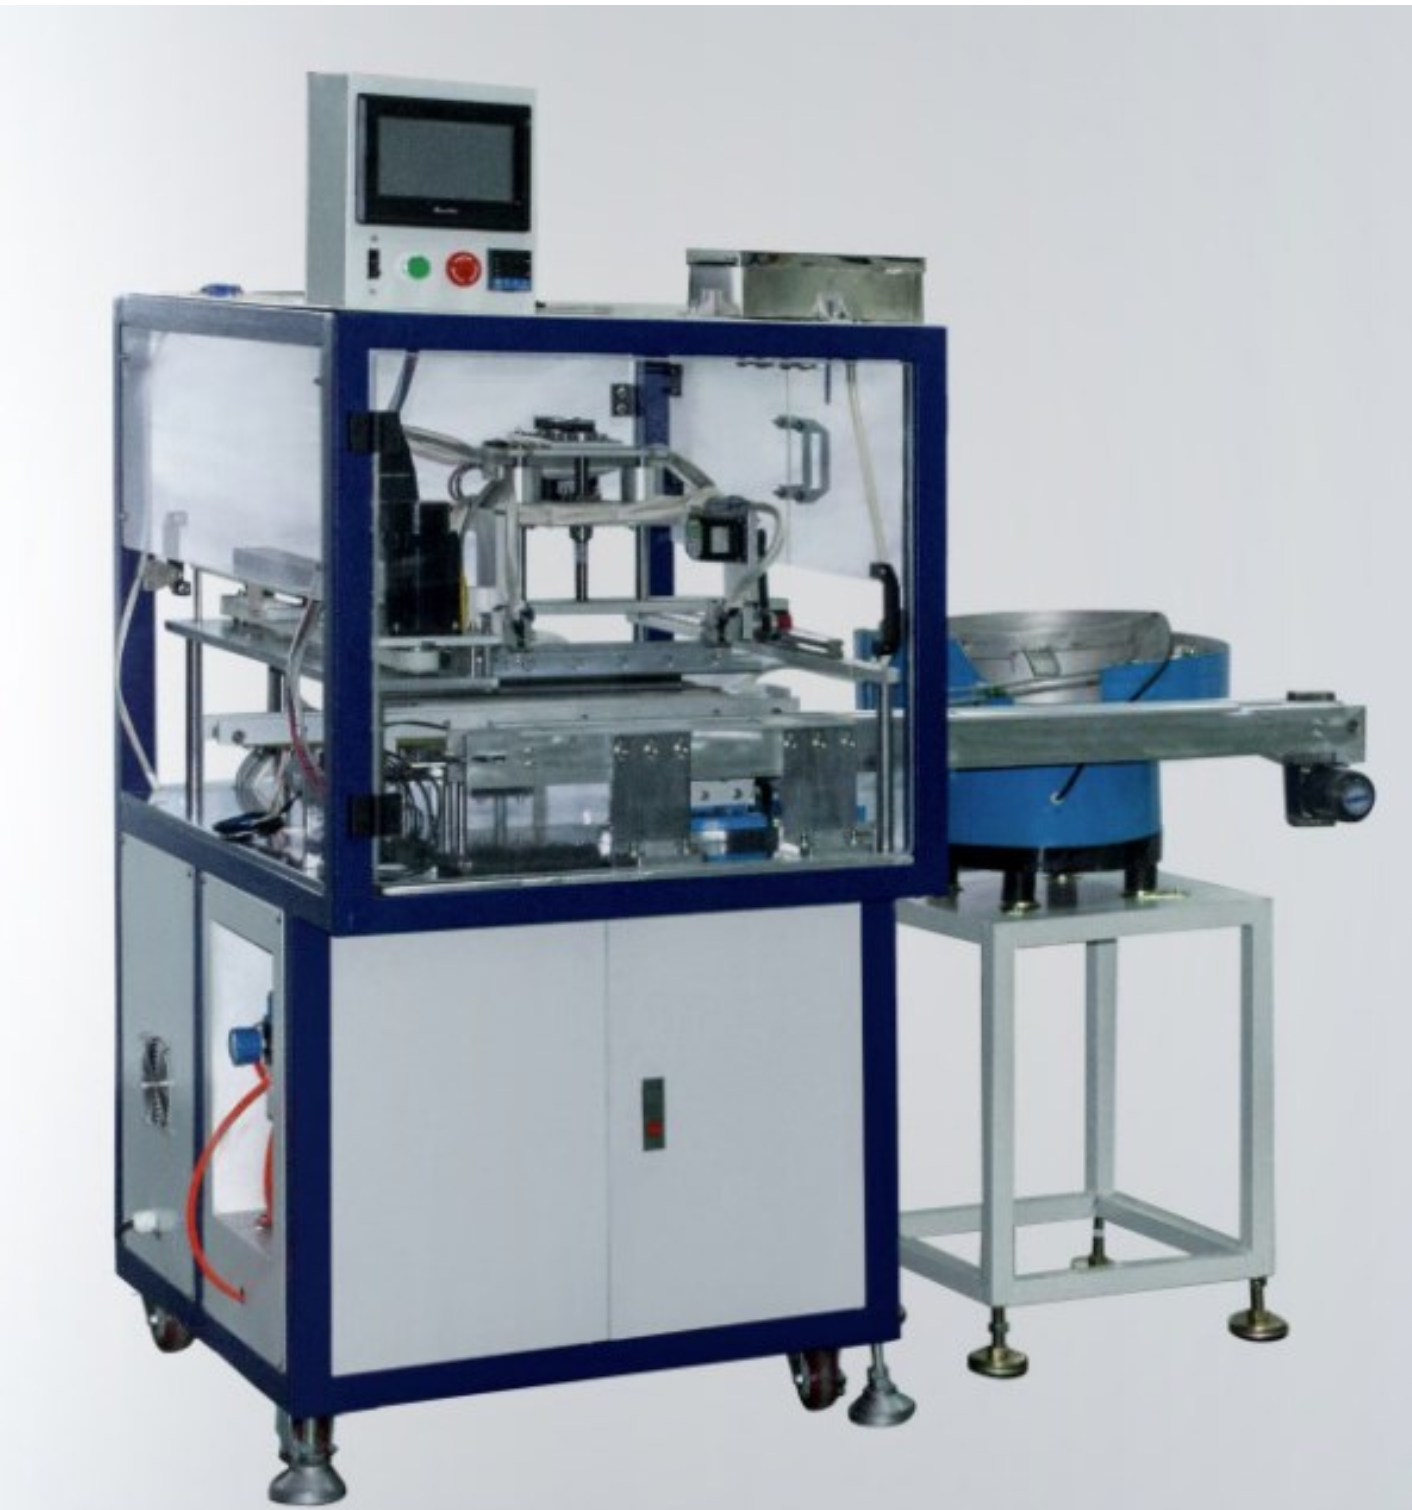
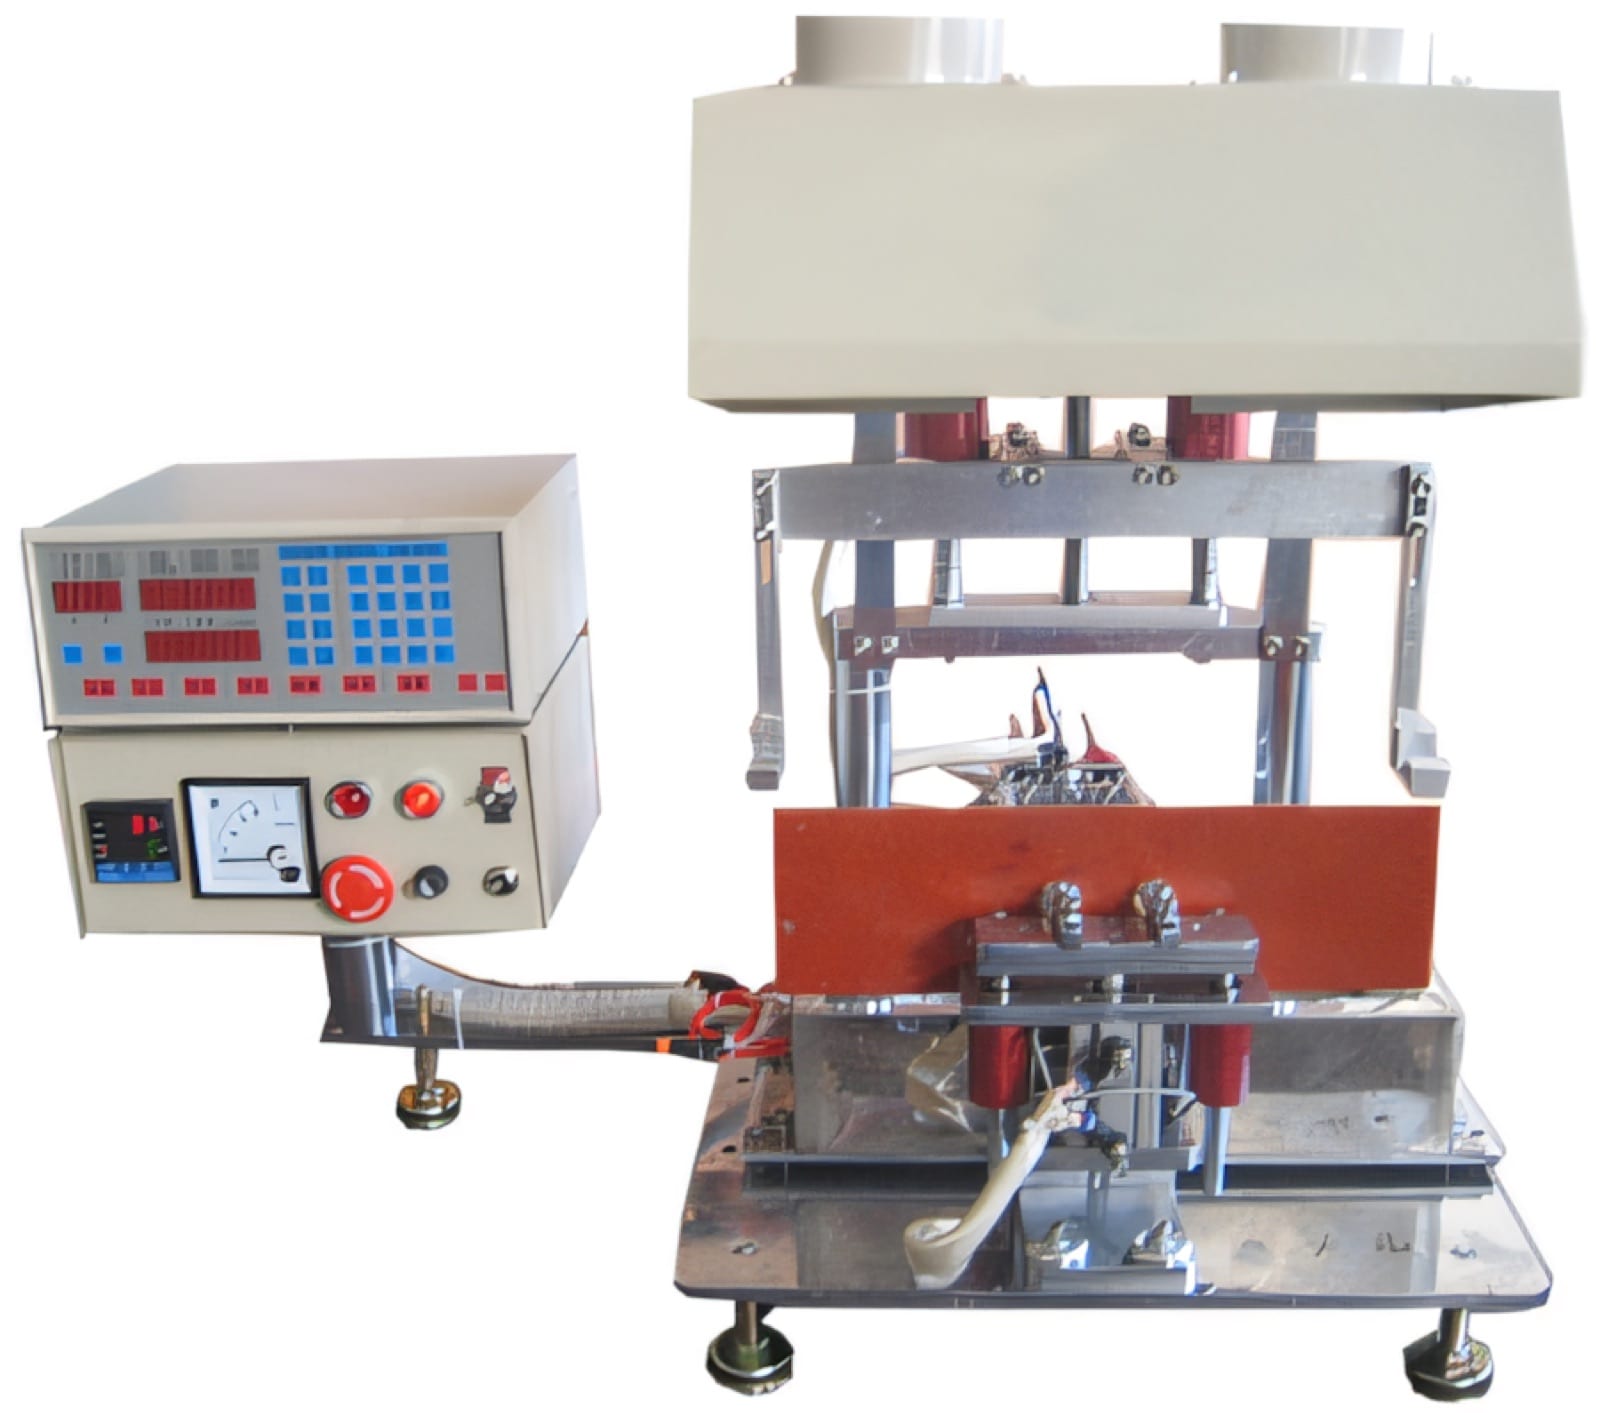
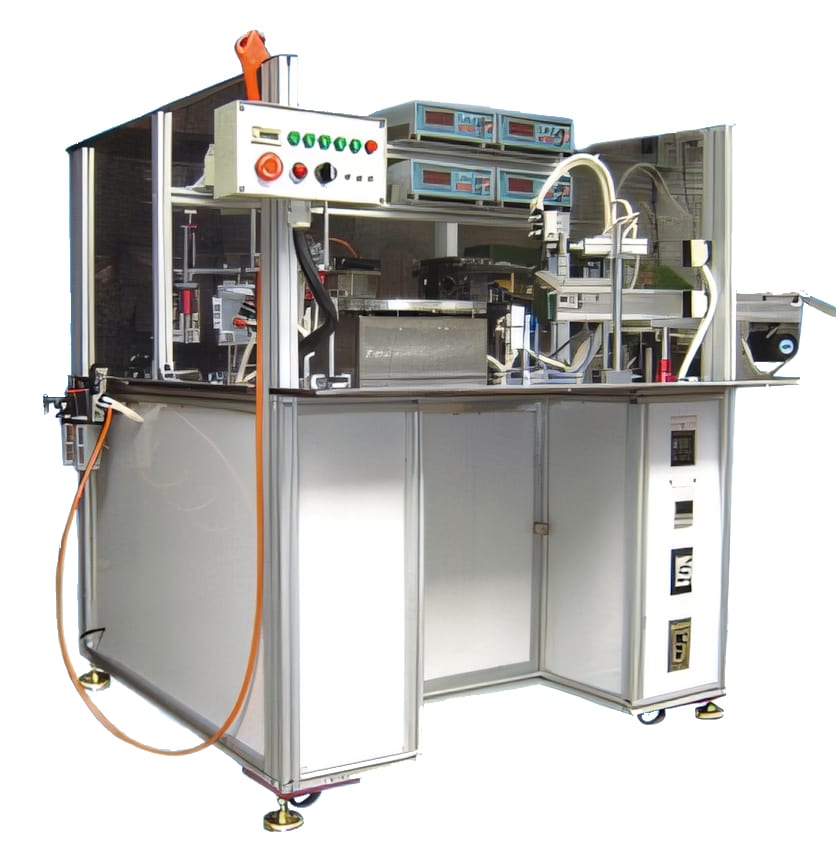
PM Electronics offers automatic fluxing and dip-soldering configurations with manual, bowl, conveyor, multi-station and in-line handling. We configure the machine around the approved chemistry, component fixture, cycle and quality plan, then use sample trials to establish a repeatable production window.
Relevant machinery for this process
Explore PME equipment that can support the operations discussed in this guide. Final machine selection should be confirmed against your component, materials and target output.
Plan the next step
Discuss your component and production target with PME.
Share a drawing, sample, current process and expected output. We can help map the right machines and level of integration.